
Posted by THREEPIECE.US on Apr 27th 2026
Mazdaspeed 3 Gen 2 Build Guide: MZR-DISI Mod Order
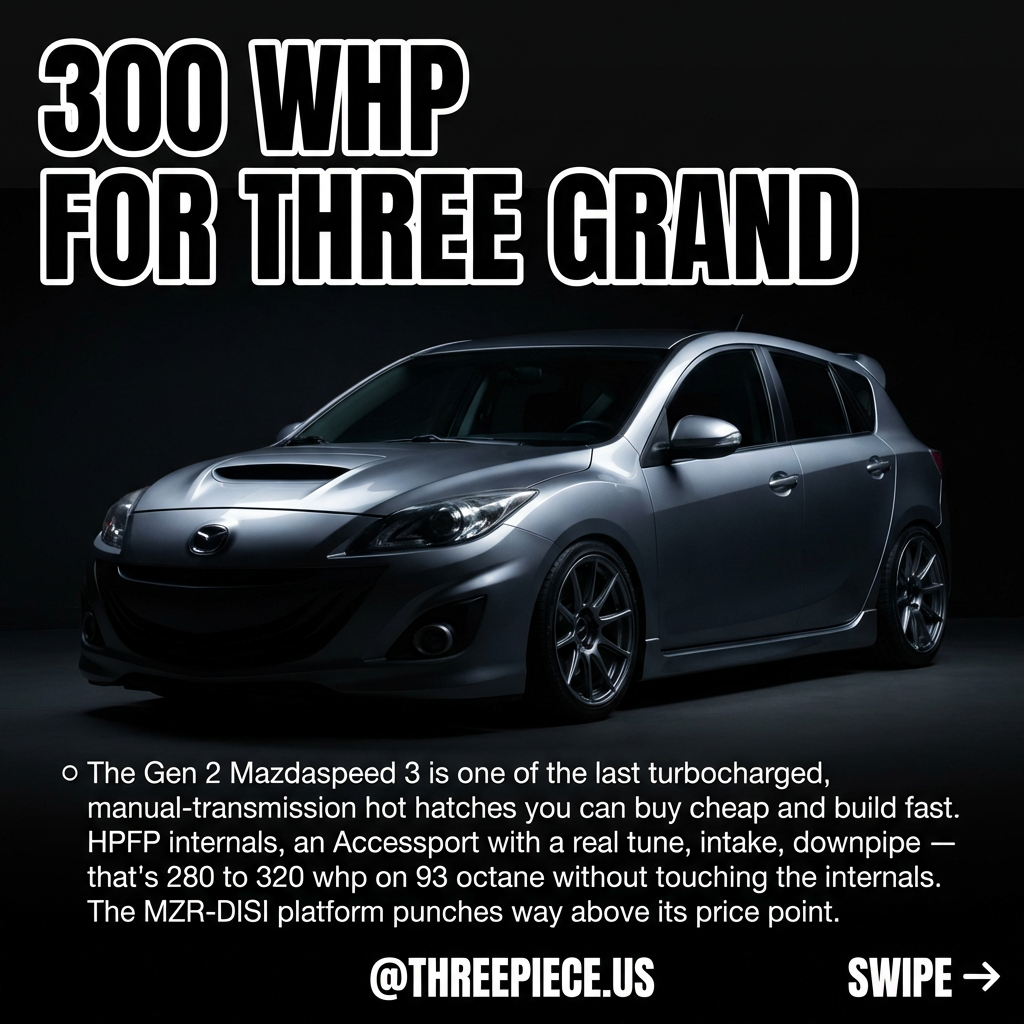
The 2010–2013 Mazdaspeed 3 Gen 2 is one of the last turbocharged, manual-transmission hot hatches you can still buy for under ten grand and build to 280–320 whp for a few thousand more. The MZR-DISI 2.3L direct-injection turbo four is genuinely one of the most underrated powerplants in the sport-compact world — but it has a specific order of operations that separates reliable builds from blown motors. This is the mod path that experienced MS3 owners wish they'd followed from day one.
Quick links
- HPFP Internals: The Non-Negotiable First Mod
- Bolt-On Mod Order to 300 WHP
- Supporting Mods That Keep the Block Alive
- 18×8.5 +35: The Proven Wheel Spec
- Suspension Setup for Street and Track
- Failure Modes Every MS3 Owner Should Know
- The Full Build Budget
HPFP Internals: The Non-Negotiable First Mod
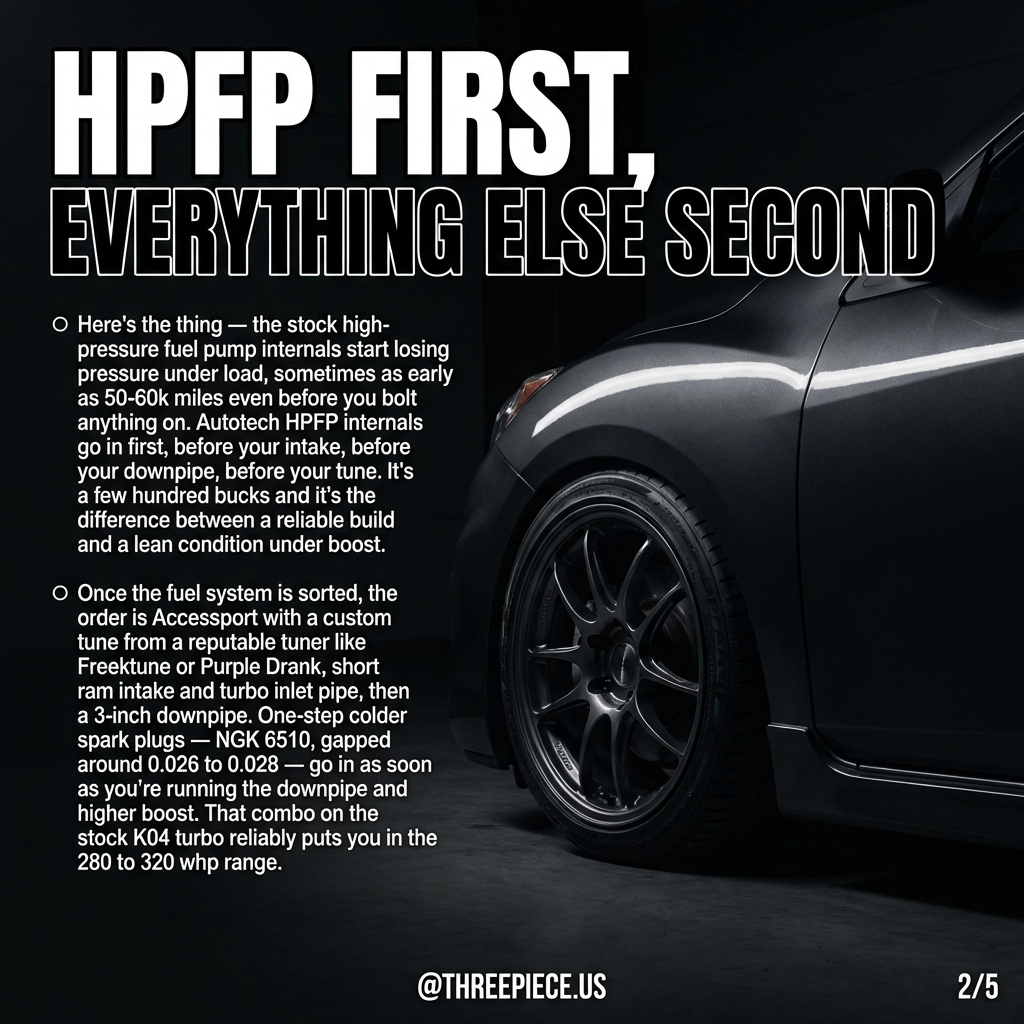
Here's the thing about the MZR-DISI platform that catches first-time owners off guard: the stock high-pressure fuel pump internals start losing pressure under load, sometimes as early as 50,000–60,000 miles — even on a completely stock car. The HPFP is the single most documented failure point on the Gen 2 Mazdaspeed 3, and it doesn't care whether you've bolted on a single mod or not.
Autotech HPFP internals go in first. Before your intake, before your downpipe, before your tune. It's a few hundred dollars and it's the difference between a reliable build and a lean condition under boost that wrecks your injectors — or worse. Real-world build threads on MazdaspeedForums and Reddit confirm this over and over: owners who skip the HPFP upgrade and jump straight to a Stage 1 or Stage 2 tune end up chasing misfires and fuel pressure drops within months. CorkSport HPFP internals are another option, though some owners have reported fitment issues with specific batches — Autotech remains the safer bet based on community consensus.
Bolt-On Mod Order to 300 WHP
Once the fuel system is sorted, the order matters. The Mazdaspeed 3 community has refined this sequence over a decade of build threads, and deviating from it is how people end up with boost leaks, lean conditions, or a stock K04 turbo that's working harder than it should.
Step 1: Cobb Accessport V3 with a custom tune. This is not optional — an off-the-shelf map won't account for your altitude, fuel quality, or supporting mods. Reputable MS3 tuners include Freektune, Purple Drank, and Dramatune. A proper tune on 93 octane with just the Accessport and HPFP internals already picks up meaningful torque and cleans up the factory-conservative fuel and timing tables. If you're curious about whether a cold air intake is actually worth it on a direct-injection turbo platform, the answer on the MS3 is nuanced — read on.
Step 2: Short ram intake and turbo inlet pipe. The Cobb turbo inlet hose is the standard choice here. The intake side of the MZR-DISI responds well to reduced restriction before the compressor, but the gains are only realized with a tune that accounts for the increased airflow. Without a retune, you're just introducing a potential boost leak.
Step 3: 3-inch downpipe. Cobb's high-flow downpipe is the most commonly documented option. This is where the K04 turbo really wakes up — backpressure drops significantly and the turbo spools faster across the entire rev range. Pair this with one-step colder spark plugs — NGK 6510, gapped at 0.026–0.028 inches — as soon as you're running the downpipe and higher boost levels.
That combination on the stock K04 turbo reliably puts you in the 280–320 whp range on 93 octane with a proper tune. No built internals required. No big turbo kit. Just the right parts in the right order.
One thing most guides skip: the stock cat-back exhaust is not actually restrictive until you're well past the stock turbo's ceiling. Owners who've datalogged before and after a cat-back swap on the K04 see negligible gains. Save that money for parts that actually move the needle — like a front-mount intercooler when you're ready to push past 350 whp. The JBR FMIC piping paired with a Treadstone TR8 intercooler is the documented combo for that next stage.
Supporting Mods That Keep the Block Alive
Making power is easy on the MZR-DISI. Keeping it alive under sustained boost is where most builds fall apart. These supporting mods aren't glamorous, but they're what separate a daily driver from a parts car.
Damond motor mounts are the move once you're making real torque. The stock rubber mounts allow excessive engine movement under hard acceleration, which translates to wheel hop and driveline slop in a front-wheel-drive chassis putting down 280+ whp. Upgraded mounts clean up the entire drivetrain feel and reduce stress on CV axles — which are already working overtime on this platform.
If you're running a catless or free-flowing downpipe, add a Damond oil restrictor banjo bolt to keep the turbo from pushing oil past its seals. Skip that and you'll be chasing blue smoke within a few thousand miles. It's a $30 part that prevents a $1,500 turbo rebuild.
The stock bypass valve starts leaking under higher boost levels. A Forge BPV is the common replacement, though some owners run a GFB DV+ as a more budget-friendly option. Either way, address it before you start seeing boost creep or inconsistent spool.
A Damond PCV plate and catch can round out the supporting mod list. Direct-injection engines are inherently prone to oil vapor recirculation issues, and the MZR-DISI is no exception. A catch can keeps oil out of the intake tract and off the valves — critical for long-term reliability on a car you're planning to daily. If you've followed the FA20DIT carbon buildup issues on the Subaru WRX, the same direct-injection principles apply here.

18×8.5 +35: The Proven Wheel Spec
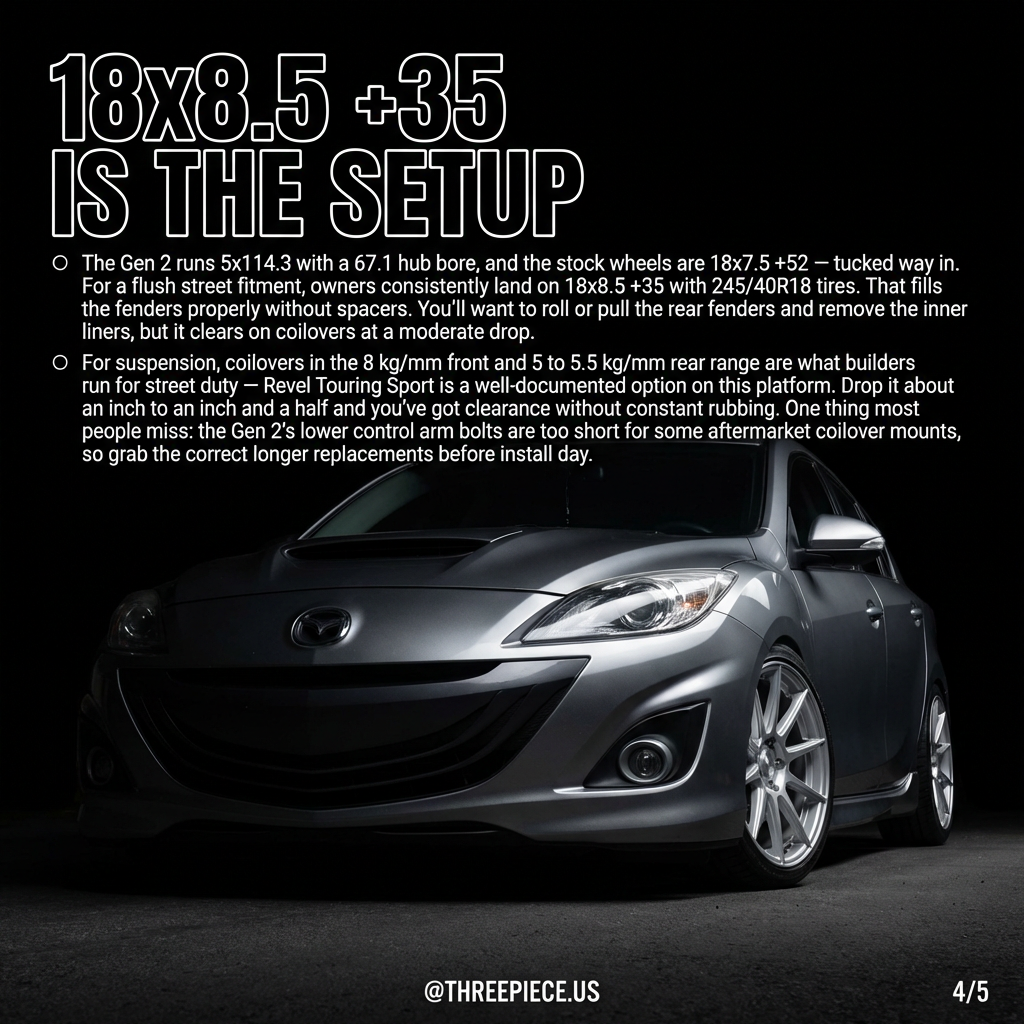
The Gen 2 Mazdaspeed 3 runs 5×114.3 with a 67.1mm hub bore, and the factory wheels are 18×7.5 +52 — tucked way inside the fender with zero presence. For a flush street fitment that actually fills the arches, owners consistently land on 18×8.5 +35 with 245/40R18 tires. That setup fills the fenders properly without spacers and gives you a meaningful increase in contact patch over the stock 225-width rubber.
You'll want to roll or pull the rear fenders and remove the inner fender liners, but on coilovers at a moderate drop the setup clears without constant rubbing. Browse 18×8.5 wheels in 5×114.3 to see what's currently available. If you're considering a set of Work Emotion wheels, the CR Kiwami and ZR10 both come in 18×8.5 configurations that fit this platform well. For a deeper dive into how wheel construction affects your build, check out our breakdown of the Volk Racing story and how forged construction differs from cast.
For tires, the American Roadstar Sport AS 245/40R18 at $88.83 is a budget-friendly daily option that gets the job done. If you want a step up for mixed street and spirited driving, the Continental PureContact LS 245/40R18 at $294 offers better wet grip and road manners. For a winter setup, the Michelin Pilot Alpin 5 245/40R18 at $298.68 is one of the best cold-weather performance tires you can bolt on. Make sure you're running hubcentric rings to center the wheel on the 67.1mm hub bore — most aftermarket wheels use a larger center bore and the rings eliminate vibration at highway speeds.
Suspension Setup for Street and Track
Coilovers in the 8 kg/mm front and 5–5.5 kg/mm rear range are what builders run for street duty on the Gen 2 Mazdaspeed 3. The Revel Touring Sport is a well-documented option on this platform with damping that's actually tuned for the car's weight distribution and spring rates — not just a generic valving shared across fifteen applications. If you're debating whether coilovers are the right call for a daily driver, we covered that question in depth: are coilovers worth it on daily drivers?
Drop it about 1 to 1.5 inches and you've got clearance without constant rubbing on the 18×8.5 +35 setup. Go lower than that and you're into fender modification territory — which is fine for a show car but adds complexity to a daily build. One thing most people miss: the Gen 2's lower control arm bolts are too short for some aftermarket coilover mounts. Grab the correct longer replacement bolts before install day or you'll be making a hardware store run mid-project.
Before you buy, read our guide on the expensive mistake 90% of coilover buyers make — it applies directly to the MS3 platform where cheap coilovers with incorrect spring rates are rampant. Browse our full suspension catalog for options across multiple platforms.
Failure Modes Every MS3 Owner Should Know
The MZR-DISI is not fragile, but it has specific weak points that are well-documented across a decade of ownership data. Knowing these upfront saves you from learning them the expensive way.
HPFP failure is the most common and most discussed. We covered it above, but it bears repeating: this is not a "maybe" upgrade. It's a "when, not if" failure on stock internals, especially under any additional boost.
Block cracking at high power. The stock 2.3L aluminum block has a documented ceiling. Community data from MazdaspeedForums shows that once you're pushing past 450–500 whp, you need a built long block — SP63 and CP-E MZRevolved are the two most established options. At ~600 whp, even SP63 Stage 2 blocks have cracked without proper sleeves and head enhancements. ARP head studs become mandatory past 30–35 psi of boost to prevent the head from lifting.
High-mileage wear items. Owners report Gen 2 Mazdaspeed 3s at 150,000–200,000+ miles remaining solid if the timing components, VVT actuator, solenoid, and rear main seal are replaced proactively. Common wear points include the rear motor mount, passenger motor mount, and sway bar end links. Budget for these on any high-mileage purchase — they're cheap parts but labor-intensive if you're not doing the work yourself.
For context on how other turbocharged four-cylinder platforms handle reliability at power, compare the MS3's failure modes to the EJ257 mod path on the VA STI — different engine, similar lessons about respecting the block's limits.
The Full Build Budget
Here's what the realistic numbers look like for a 280–320 whp Gen 2 Mazdaspeed 3 daily build with proper fitment:
- Autotech HPFP internals: ~$200–250
- Cobb Accessport V3 + custom e-tune: ~$650–800
- Short ram intake + turbo inlet pipe: ~$200–350
- 3-inch downpipe (Cobb or equivalent): ~$400–600
- NGK 6510 spark plugs (set of 4): ~$30
- Damond motor mounts + oil restrictor + PCV plate + catch can: ~$400–600
- Forge or GFB bypass valve: ~$150–250
- Coilovers (Revel Touring Sport or equivalent): ~$800–1,200
- Wheels — 18×8.5 +35 5×114.3: ~$600–2,000+ depending on brand
- Tires — 245/40R18: ~$355–1,200 for a set (from American Roadstar at $88.83 each to premium options)
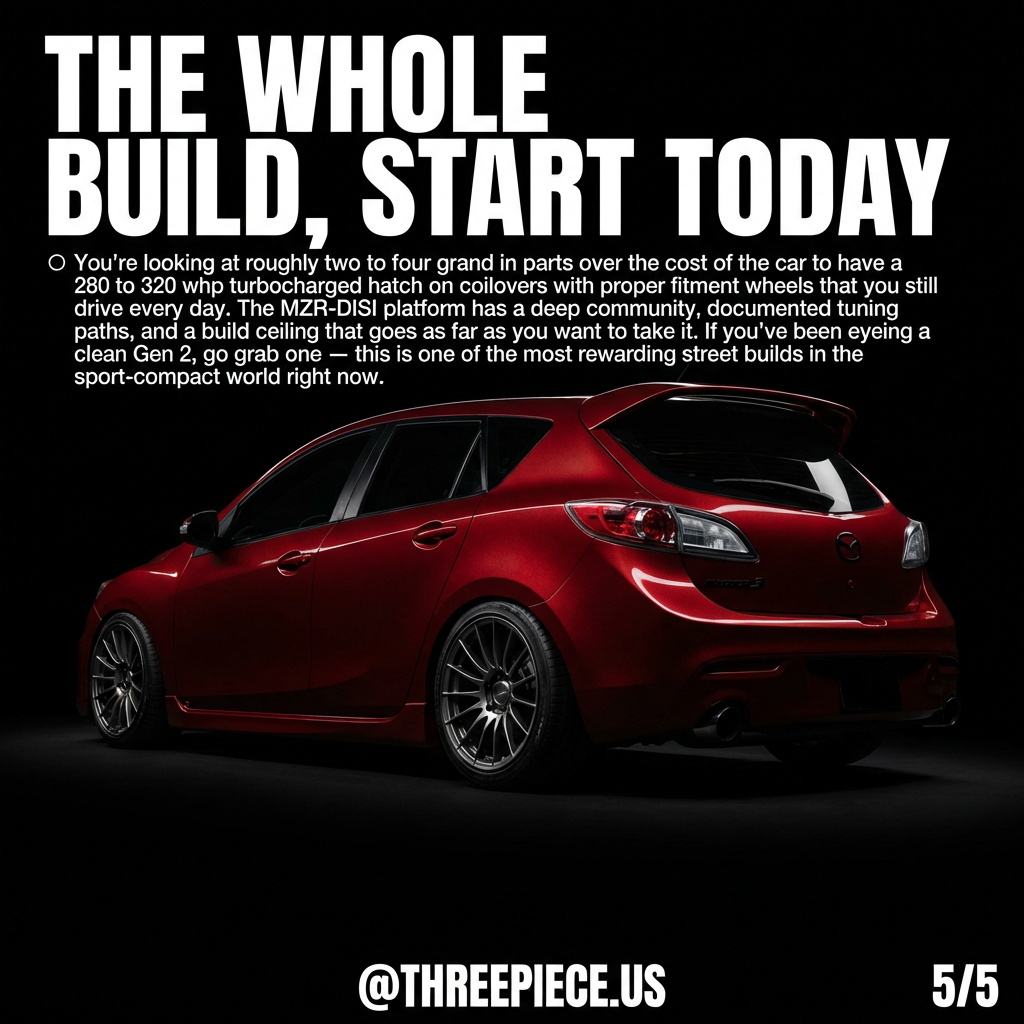
Total: roughly $2,000–4,000 in parts over the cost of the car to have a turbocharged hatch on coilovers with flush-fitment wheels that you still drive every day. That's before you touch the cat-back, before you consider a front-mount intercooler, and before you even think about built internals or a big turbo kit.
The MZR-DISI platform has a deep community, documented tuning paths, and a build ceiling that goes as far as you want — browse our vehicle gallery for build inspiration across platforms. If you've been eyeing a clean Gen 2, the parts are available, the knowledge base is mature, and the entry price hasn't caught up to the car's capability yet. Finish the wheel setup with proper lug nuts and 90-degree valve stems (just $3.80 each) for a clean look on multi-spoke wheels, and go build something worth driving.