
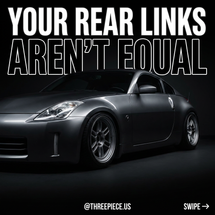
350Z Multi-Link Rear Suspension vs BRZ Double Wishbone Explained
The Nissan 350Z multi-link rear suspension is technically more sophisticated than the Subaru BRZ's double-wishbone setup — and that's exactly why it's harder to get right. Five separate arms controlling five different axes of movement sounds like an engineering advantage until you lower the car two inches and every single arm changes its working angle simultaneously. Meanwhile, your friend's BRZ on the same drop holds geometry like nothing happened. Here's what's actually going on underneath both cars, why the Z feels loose when the BRZ feels planted, and the correct fix order that most people get backwards.
Quick links
- Five arms, five different jobs
- Why the Z feels loose mid-corner
- Lowering makes it worse — here's the geometry
- Why the BRZ holds up better at the same drop
- The correct fix order for a lowered Z33
- Wheels and fitment after geometry correction
- Bottom line
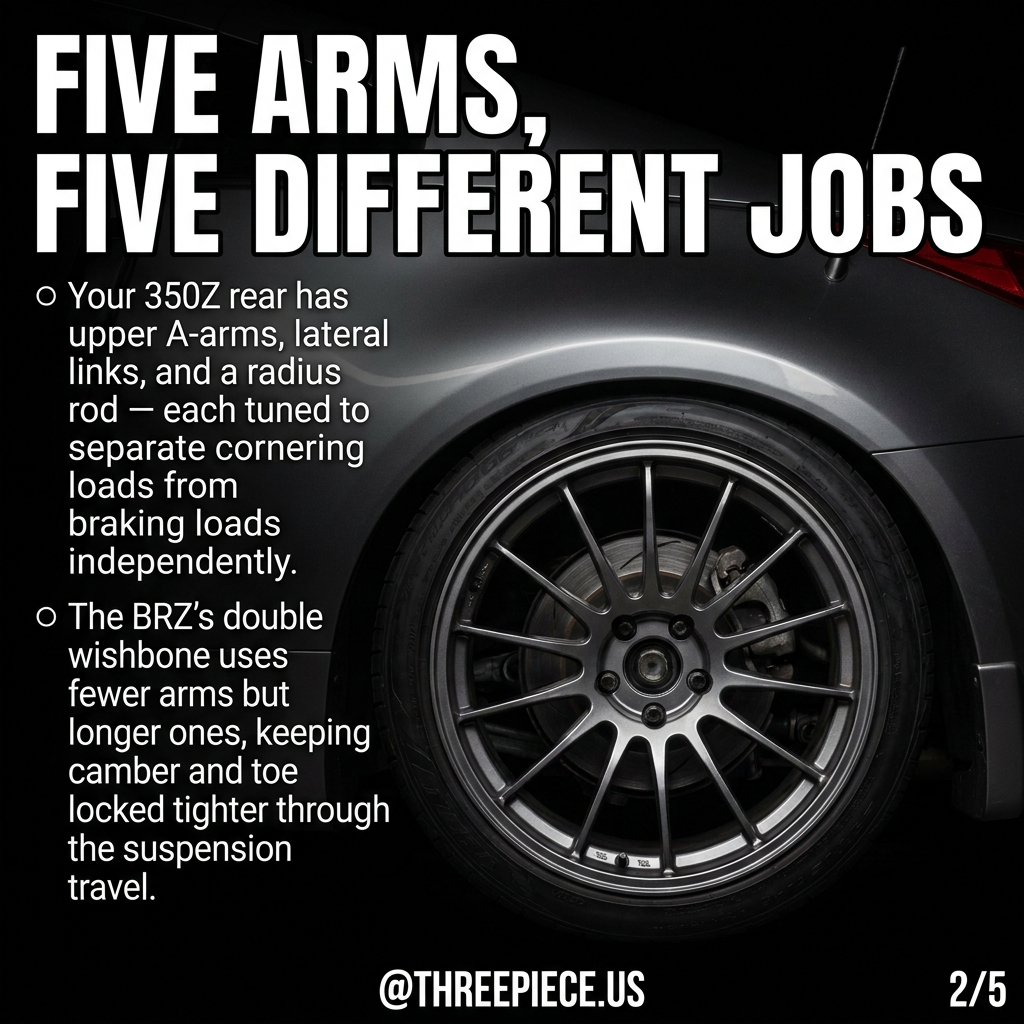
Five arms, five different jobs
The 350Z's rear doesn't just have "a bunch of links." Each arm is tuned to isolate a specific load path. The upper A-arm controls camber under compression. The lower lateral links handle cornering loads. The radius rod manages longitudinal forces — braking and acceleration — separately from the lateral arms. A compression rod and toe link round out the system. This separation is what lets Nissan decouple ride comfort from lateral stiffness. The Z can absorb rough pavement without transmitting harshness into the cabin while still maintaining camber stiffness under cornering load.
The BRZ's double-wishbone rear uses fewer, longer arms — an upper A-arm, a lower A-arm, and trailing links for fore-aft loads. It's a simpler architecture with fewer bushings and fewer joints. That means fewer points of compliance and fewer opportunities for geometry to drift under load. The trade-off is that Subaru has less ability to independently tune different load axes. Ride quality and lateral stiffness are more coupled. If you want to understand how these geometry differences affect wheel sizing decisions, our BRZ wheel fitment guide covers the 5x100 platform in detail.
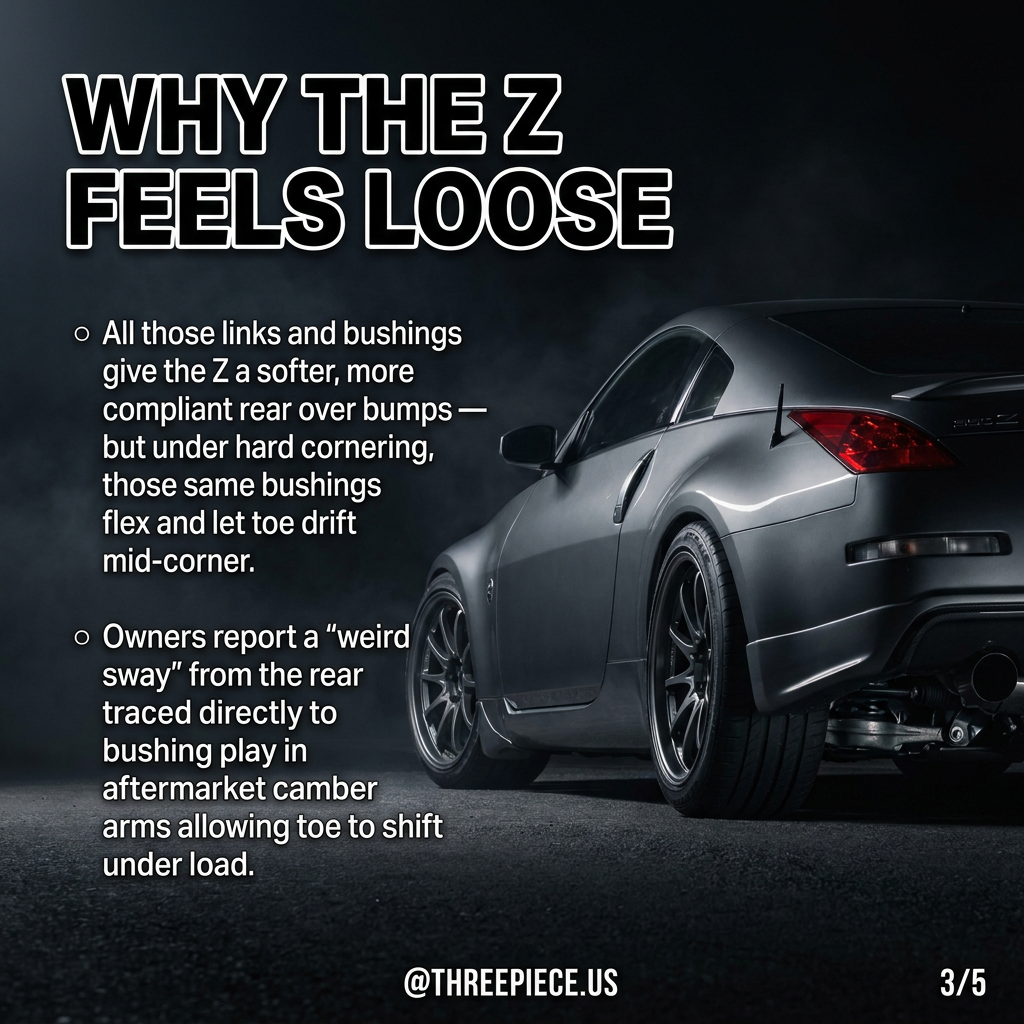
Why the Z feels loose mid-corner
Here's the part most people miss: all those compliant bushings that make the Z ride well on the street are the same bushings that flex under hard cornering. When you push the rear hard through a sweeper, the stock stamped-steel toe link flexes just enough to let the rear wheels toe out. That's instantaneous, unasked-for oversteer. Forum threads on my350z.com are full of owners describing a "weird sway" from the rear that they initially attribute to dampers or sway bars — and the actual culprit is bushing play in the rear toe arm allowing toe to shift under lateral load.
One well-documented case involved an owner who installed aftermarket camber arms with urethane bushings that were too soft axially. Under cornering load, the bushings allowed enough play that toe would change mid-corner, making the rear feel unpredictable. Reverting to stock camber arms solved the issue entirely. The lesson: on a multi-link car, the quality and stiffness of every single bushing matters exponentially more than on a simpler suspension layout. If you're coming from a 370Z build, the Z34 shares a similar multi-link architecture and the same sensitivity applies.
This is fundamentally different from the BRZ. The double-wishbone geometry keeps camber and toe more "locked in" under lateral loads because the shorter, more rigid arms have less lever arm for bushings to deflect through. BRZ owners rarely report the same toe-drift sensation, even on aggressive street setups.
Lowering makes it worse — here's the geometry
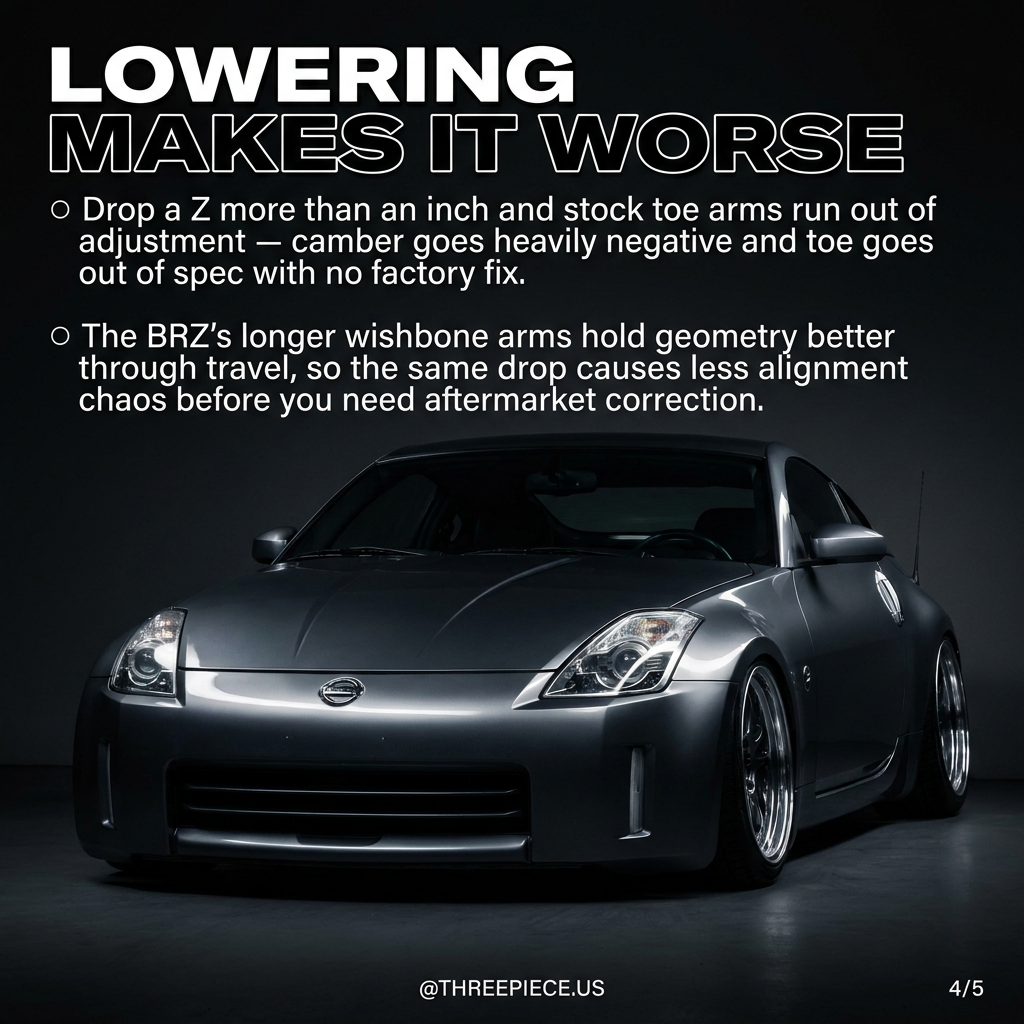
Drop a 350Z more than about an inch on springs or coilovers and you've changed the working angle on every single rear arm. Camber goes heavily negative — -2° to -3° or worse — because the upper A-arm's arc pulls the top of the knuckle inward as the hub moves up relative to the subframe. Simultaneously, the stock toe arm runs out of its limited adjustment range. Toe goes out of spec with no factory-provided fix.
The stock rear toe arm on the Z33 uses a "bucket" to seat the coil spring. That bucket is a structural element, not a precision alignment component. It doesn't give true toe control. Owners who want to dial in toe post-lowering need to replace this with a dedicated toe arm and spring bucket delete — parts like the ISR Performance IS-STRTC-Z33 or equivalents from SPL, Voodoo13, or Megan Racing. Without this, you're running unknown toe angles that change every time you hit a bump, and you're eating inner tire edges within a single season. For a deeper look at how chassis stiffening mods interact with suspension geometry, that's worth reading before you add a strut bar to a car with uncorrected rear links.
Why the BRZ holds up better at the same drop
The BRZ's longer wishbone arms travel through a wider arc before geometry degrades significantly. A 1.5-inch drop on a BRZ will still put you within a correctable alignment window using stock adjustments or basic camber bolts. The same drop on a Z33 puts you well outside the stock adjustment range on both camber and toe.
This isn't because the BRZ is "better engineered" in some abstract sense — it's because the double-wishbone layout has inherently more stable camber curves through its travel range. The upper and lower arms are geometrically set to produce consistent negative camber gain during roll and bump, which is exactly what you want for cornering grip. The Z's multi-link can achieve the same thing, but only when the arms are at their designed operating angles. Move the ride height and you've moved every arm out of its designed range. Check our GR86 fitment guide for sizing that works with a lowered double-wishbone rear — the 86/BRZ platform is far more forgiving on wheel offset choices after a drop.
The correct fix order for a lowered Z33
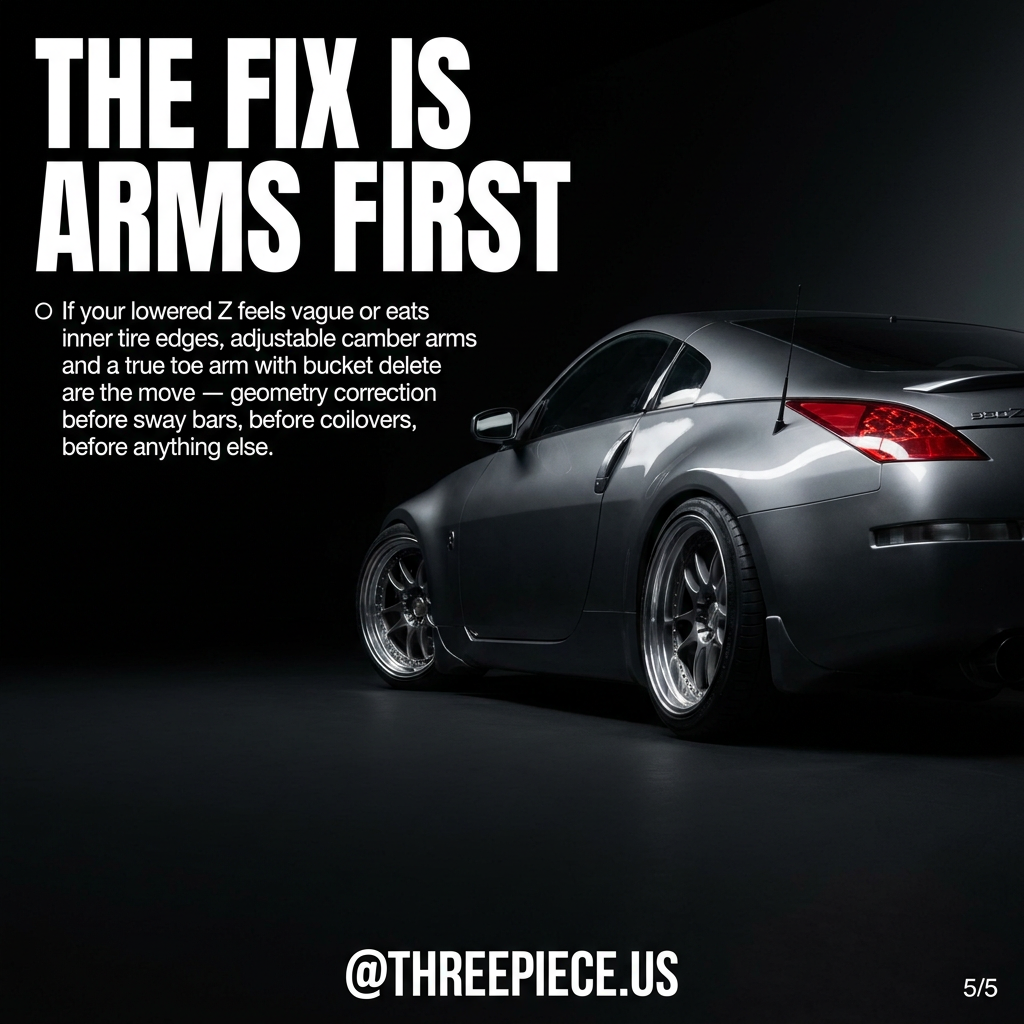
This is where most Z owners get it backwards. They bolt on coilovers, add wheels, maybe a sway bar — and then wonder why the rear feels sketchy. The correct sequence for a lowered 350Z is:
- Adjustable rear camber arms — SPC, SPL, Cusco, or Voodoo13. Get camber back to -1.0° to -1.5° where the tire actually uses its full contact patch.
- True rear toe arms with bucket delete — this is the single most important upgrade on a lowered Z. Without it, your toe is a guess that changes every time the suspension compresses.
- Alignment — get a proper four-corner alignment with the new arms. This is where you dial in rear toe to ~1/16" toe-in per side for stability.
- Coilovers or springs — now that you have the adjustment range to correct geometry at your target ride height, you can actually set ride height with confidence.
- Sway bars — only after geometry is corrected. A stiffer rear bar on a car with drifting toe will amplify the problem, not fix it.
If you're shopping coilovers for a different platform and want to see how this mod-order logic applies elsewhere, our 987 Cayman S build guide follows the same arms-before-springs philosophy. And if you're considering Fortune Auto for the build, the Whiteline 03-09 Nissan 350Z-Z33 Performance Lowering Springs - WSK-NIS001 at $1,799 is their benchmark for multi-link platforms — the NSX application shows what proper valving does on a car with similar rear complexity.
Wheels and fitment after geometry correction
Once your rear geometry is sorted, wheel and tire fitment on the Z33 opens up dramatically. The 350Z runs 5x114.3 bolt pattern with a 66.1mm hub bore. The sweet spot for a lowered Z is 18x9.5 +15 to +22 rear and 18x9.5 +22 front for a mild stagger, or 19x9.5 front / 19x10.5 rear if you want to fill the fenders. Browse Aodhan DS03 5x114.3 18x9.5 +15 Black Vacuum w/ Gold Rivets to see what's currently available.
For tire sizing, 265/35R18 rear and 245/40R18 front is the proven staggered setup. Search 265/35R18 tires for rear options and 245/40R18 tires for the front. If you're running 3-piece wheels, proper Work step lips starting at $399 or Work reverse lips at $399 let you spec the exact width you need for your offset target. Pair them with Work step barrels to build the exact rear wheel width your corrected geometry can support.
For builds using Work VS series wheels, the deep concave faces on wider barrels fill Z33 rear fenders perfectly. Finish the look with Red/Gold Work VS center caps at $120 each. If you want to see how other Z33 owners have approached fitment, our vehicle gallery has real-world examples worth studying before you commit to specs.
The BRZ runs 5x100 with a 56.1mm hub bore — completely different bolt pattern. If you're cross-shopping wheels between the two platforms, they share nothing. The BRZ's fitment guide covers what works on that chassis. For assembly hardware on any 3-piece build, M7x32 chrome assembly bolts at $10 each are the standard for Work and most Japanese 3-piece wheels, and Whiteline 03-09 Nissan 350Z-Z33 Performance Lowering Springs - WSK-NIS001 at $3.80 solve the clearance issue on deep-dish rear setups where straight stems hit the brake caliper.
Bottom line
The 350Z's multi-link rear is a more capable suspension system than the BRZ's double wishbone — but only when the geometry is correct. At stock ride height with fresh bushings, the Z's ability to independently tune lateral stiffness, longitudinal compliance, and anti-squat is genuinely impressive. The moment you lower it without addressing the arms, every advantage becomes a liability. Toe drifts, camber goes excessive, and the rear becomes unpredictable under load.
Fix the arms first. Get a proper alignment. Then worry about ride height, sway bars, and wheel fitment. Your Z will feel like a completely different car — and your tires will actually last more than one season. If you're building a Z33 right now, start with geometry correction, then browse wheels and suspension components once your rear links can actually hold the angles you set.
Want to see what actually fits? Browse real Subaru BRZ wheel fitments — owner setups with full specs on our fitment gallery.